


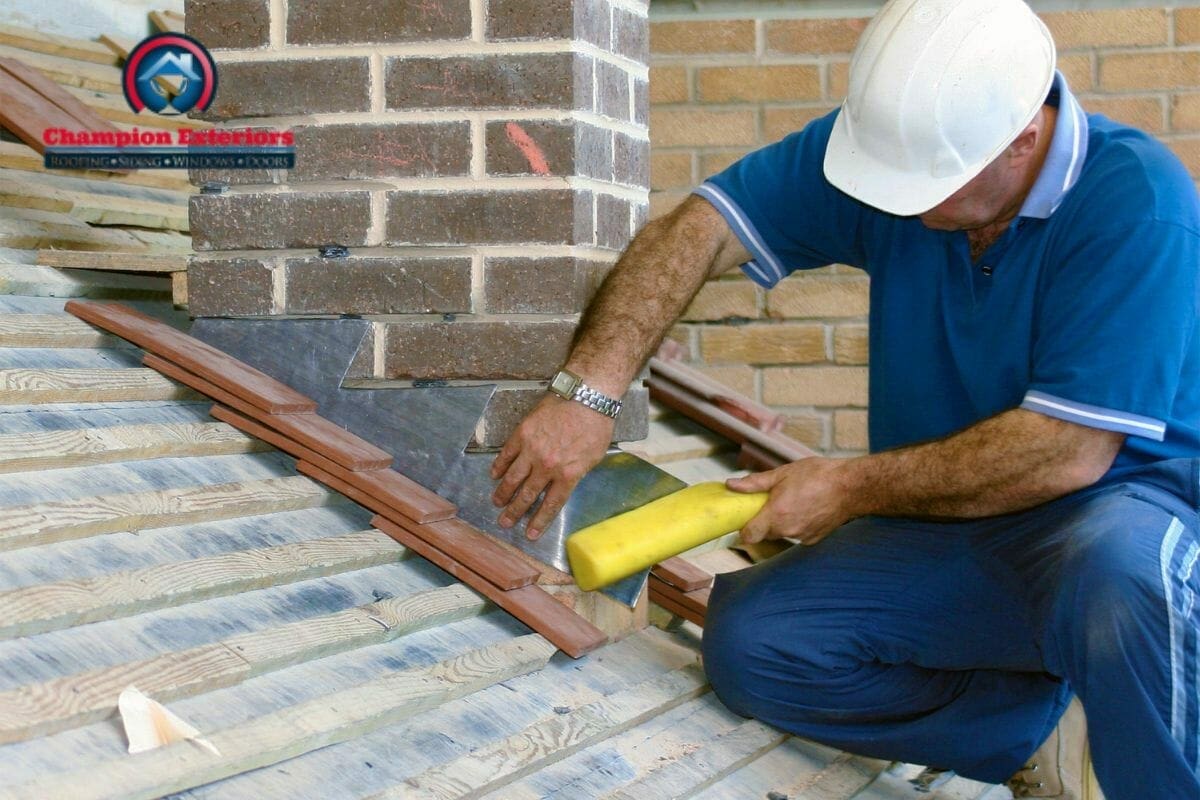
If you are a homeowner or roofer, this blog will explain everything you need to know about roof step flashing and how to install it on your roof.
Roof step flashing protects your home interior and the roofing material from water leaks and damage caused by it. Installing step flashing on your roof is essential for both sloped and flat roofs, mainly in rainy and snowy regions, where the chance of sudden heavy rain and snowfall is high.
The blog explains the step-by-step way you can properly flash your roof where it intersects the walls and chimneys. Also, we have some expert tips and tricks to ensure that you have accurately installed flashing.
Step Flashing On A Roof?
Roof flashing is a process to prevent water from penetrating a building at points where different building components meet, such as where a roof meets a wall or a chimney connects to a roof.
Definition And Explanation
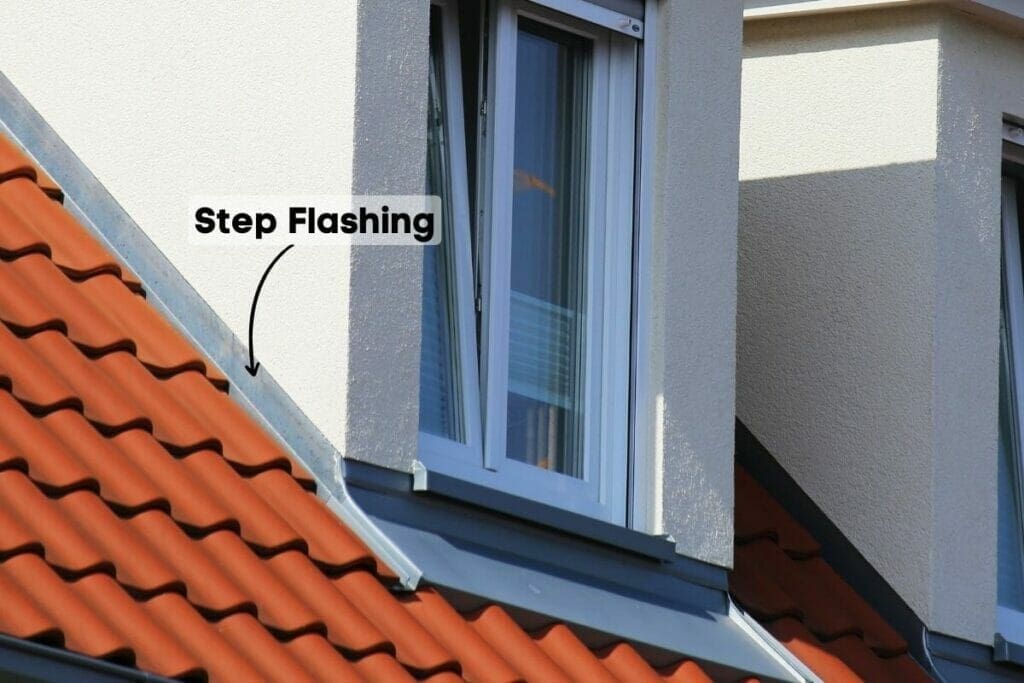
Step flashing is a type of flashing used to create a watertight seal between a sloping roof surface and a vertical surface, such as a wall. It is installed in a step-like fashion, with each piece of flashing overlapping the one below it. This creates an airtight barrier that prevents water from seeping into the building in between where the roof and wall meet.
Materials Used For Step Flashing
Step flashing is typically made of metal, such as aluminum or copper, but it can also be made of vinyl or other materials. The material chosen depends on the building’s location, the type of roof, and the client’s budget. Copper flashing, for example, is long-lasting and has a nice aesthetic but is more expensive than aluminum.
While aluminum step flashing is popular for its longevity and resistance to rust, it is very thin and easily damaged if not maintained properly. Additionally, aluminum step flashing can be easily painted.
How Step Flashing Works
Since step flashing is usually made of metal, it is bent at 90 degrees to install along where the roof meets a vertical surface. They are installed to prevent the water from penetrating the space between the roof and the intersecting walls or chimneys. Step flashing creates a barrier for the water to glide over and flow toward your gutters.
Step flashing differs from flat roof flashing for the angle they make when bent. Flat roof flashing, on the other hand, is installed on the horizontal surfaces to prevent water from leaking behind the rubber membrane and getting inside your building.
How To Install Step Flashing On A Roof
Installing step flashing on a roof requires some level of technical skill and the use of proper tools. Here is a step-by-step guide on how to install step flashing.
Prepare The Roof
Before installing step flashing, it is important to properly prepare the roof’s surface by cleaning off debris and making any necessary repairs. Remember, flashing should be installed on a clean and level surface to make it last longer.
Measure And Cut The Flashing
When you have prepared the roof and ensured the area is ready for flashing installation, you need to measure the area and the flashing pieces accurately.
Cut the flashing to the correct size and shape for a proper fit. This will also ensure that the flashing will overlap correctly with the next piece of flashing below it to maintain a water-tight seal.
Secure The Flashing
Once you’ve cut the flashing to the correct size, you must place it in the prepared area. You can accomplish this by using flashing nails or adhesive. To ensure a secure fit, it’s important to check if you have properly aligned the flashing and precisely applied the nails or adhesive in the correct location.
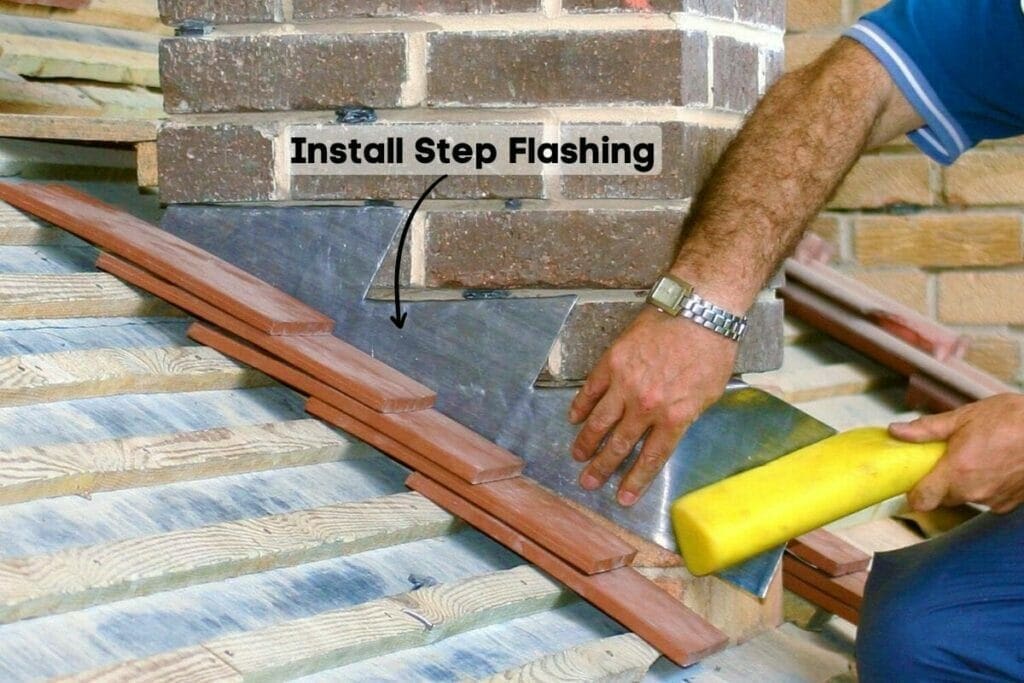
Install The Next Piece Of Flashing
When you have installed one piece, it’s time to install the next piece of flashing by overlapping it with the previous piece. Ensure that the flashing is tight against the vertical surface and that the overlap is tight. Repeat this process until the entire vertical surface is covered.
Tips for Proper Installation
- Always use the correct type of flashing for the specific application and type of roof.
- Start flashing installation at the lowest point and work up to the highest point to prevent water from flowing under the flashing.
- Make sure to overlap each piece of flashing with the one below it to create a watertight seal.
- Always use new or rust-free nails or adhesives for the flashing installation.
- Inspect the flashing after its installation and after severe weather events to ensure it’s still securely in place and that there’s no damage.
Damages That Can Occur Without Step Flashing
Below we have listed all the damage that may occur if a roofer fails to install step flashing on a roof.
Water Infiltration And Leaks In The Roof’s Structure
Without step flashing, water can seep into your interior through the gap where the roof meets the walls, causing leaks and damage to the structure.
Rot And Mold Growth In The Roof And Walls
Moisture entering the roof due to a lack of step flashing on the roof can lead to rot and mold growth, weakening the structure and creating a health hazard.
Damage To The Interior Of The Building
Water that enters the roof can also infiltrate the walls, causing damage to the interior of the building, including paint, wallpaper, and other finishes.
Premature Failure Of The Roofing Materials
Without proper roof step flashing, the shingles or other roofing materials can become damaged, leading to premature failure and the need for costly repairs.
Damage To The Underlying Decking And Framing
Water entering the roof can also cause damage to the underlying decking and framing, weakening the structure and leading to repair.
Maintenance and Repair of Step Flashing
For roof step flashing maintenance and repair, you can take the following steps.
Identify Issues With The Step Flashing
- Look for rust or corrosion on the metal flashing.
- Check for gaps or separations between the flashing and the wall or siding.
- Inspect for any damage or warped flashing.
- Check for any missing or loose nails.
- Look for any signs of water damage or leaks on the wall or ceiling below.
Common Repairs
- Replace rusted or corroded flashing
- Sealing gaps or separations between the flashing and the wall or siding.
- Straightening or replacing damaged or warped flashing.
- Resecuring loose or missing nails.
- Repairing or replacing any damaged or missing underlayment or flashing material.
Tips For Maintaining Step Flashing
- Regularly inspect the flashing for signs of wear or damage.
- Keep the flashing and surrounding areas clean and free of debris.
- Seal any gaps or locations of separation as soon as they are identified.
- Replace any rusted or corroded flashing promptly.
- Consider applying a sealant or coating to the flashing to protect it from the elements.
Conclusion
Roof step flashing is usually part of the roof installation process. Therefore, homeowners and roofers should take flashing materials into account while considering the installation process of a new roof. Missing the installation of roof step flashing can lead to damage like water leaks, which could have been unavoidable.
If you want to replace or install a roof in South Jersey, you must contact Champion Exteriors. We are a team of experienced and professional roofers who you can trust. We have years of experience serving the residents in South Jersey and want to help you! Contact us today at, (888)-926-1474, and get a free instant quote.